paper trays
For information about the paper tray, select one of the topics below:
●
unfolding the paper tray
●
in tray
●
out tray
●
Folding the paper tray
The HP deskjet 5160 series printer is not available in all countries/
regions.
unfolding the paper tray
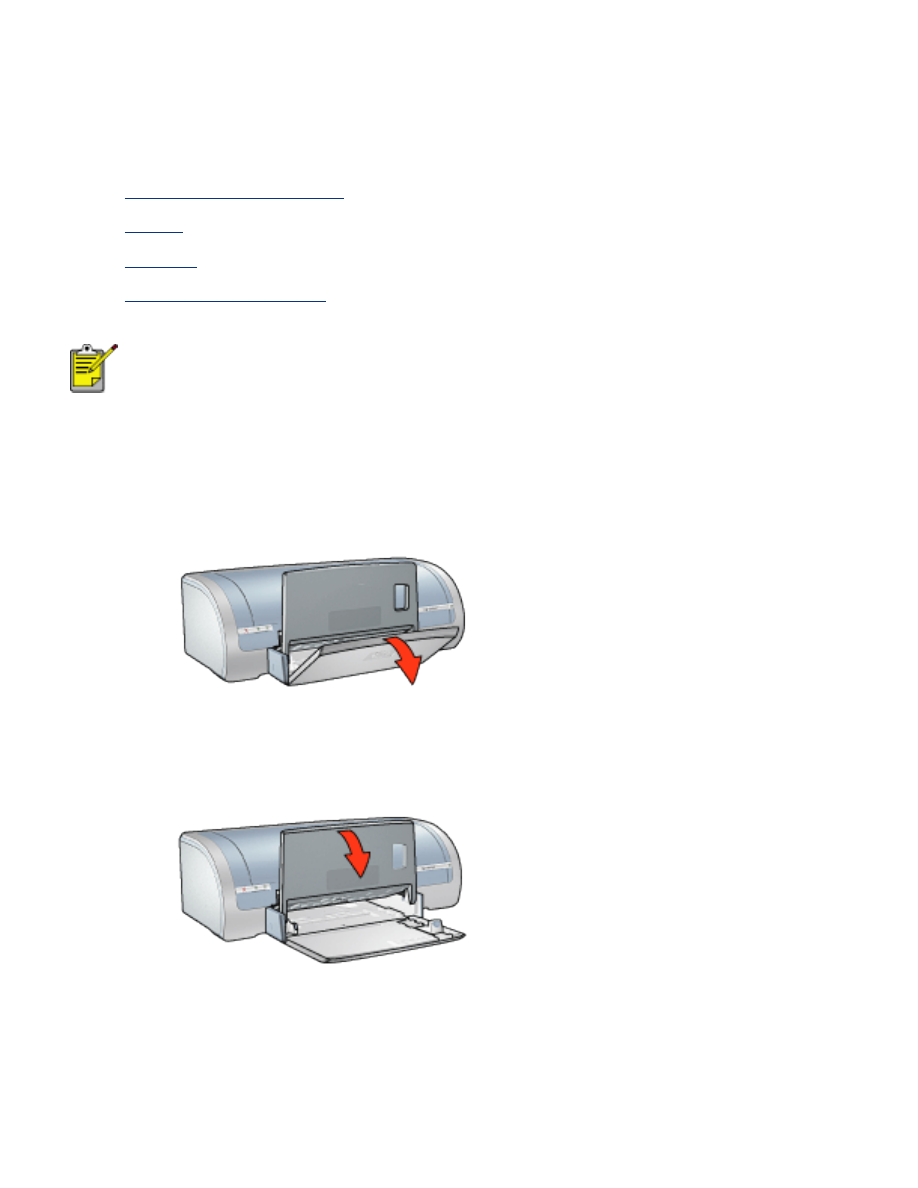
Follow these steps to unfold the paper tray:
1. Lower the In tray.
2. Pull out the paper length guide to the edge of the In tray.
3. Lower the Out tray.
4. Pull out the Out tray extension.
in tray
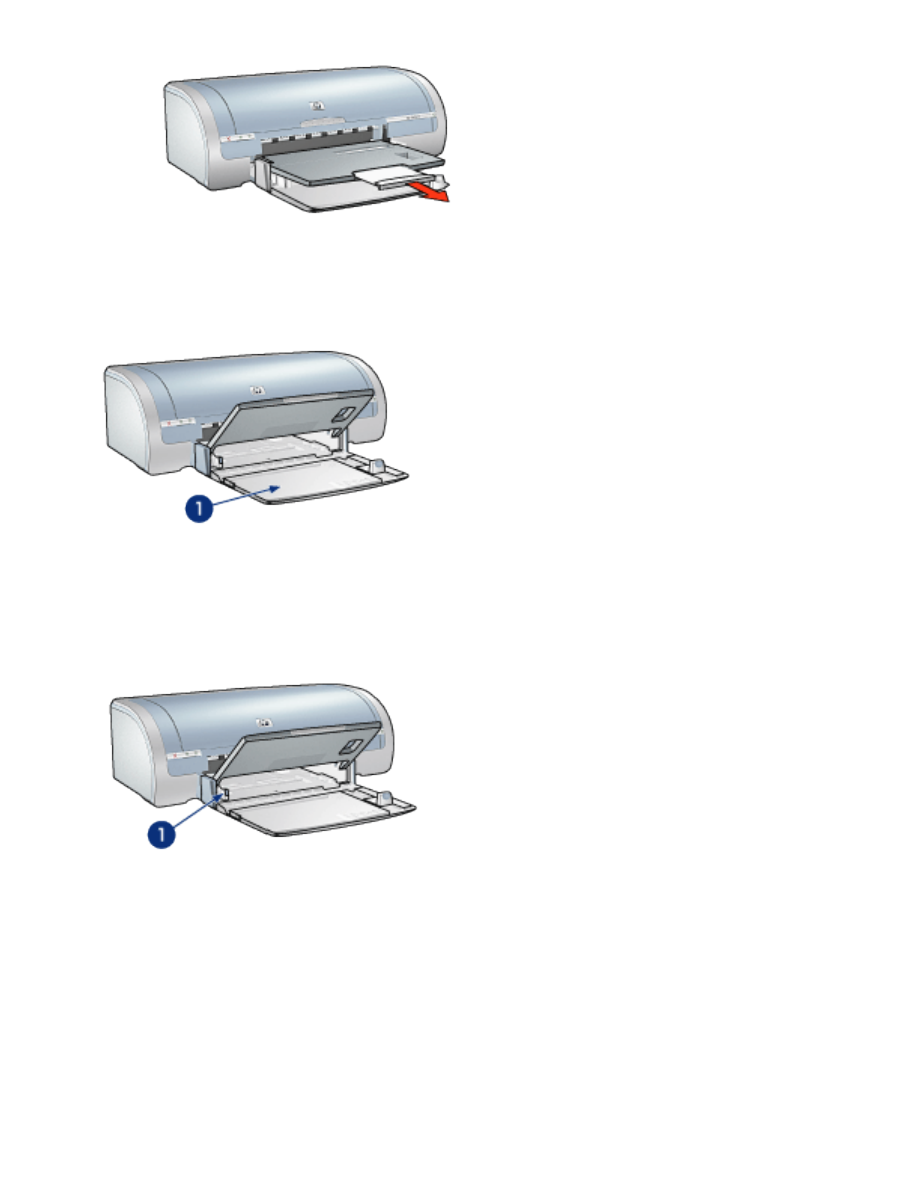
The In tray holds paper and other media to be printed.
1. in tray
paper width guide
Adjust the paper width guide to print on different sizes of paper.
1. paper width guide
paper length guide
Adjust the paper length guide to print on different sizes of paper.
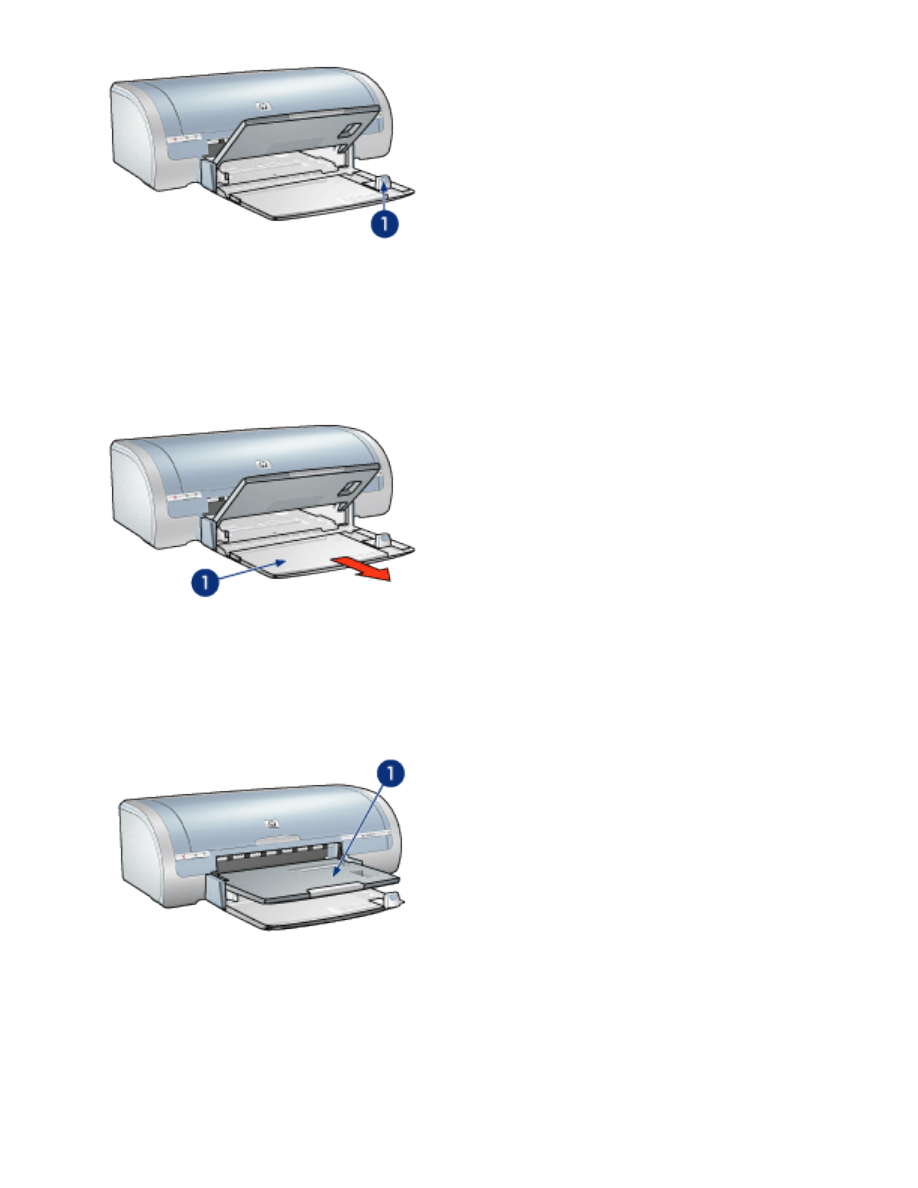
1. paper length guide
in tray extension
To print on large paper, such as legal paper, pull out the paper length guide to the
edge of the In tray, then pull out the In tray extension.
1. in tray extension
out tray
Printed pages are deposited in the Out tray.
1. out tray
To prevent paper from falling out of the tray, pull out the Out tray extension.
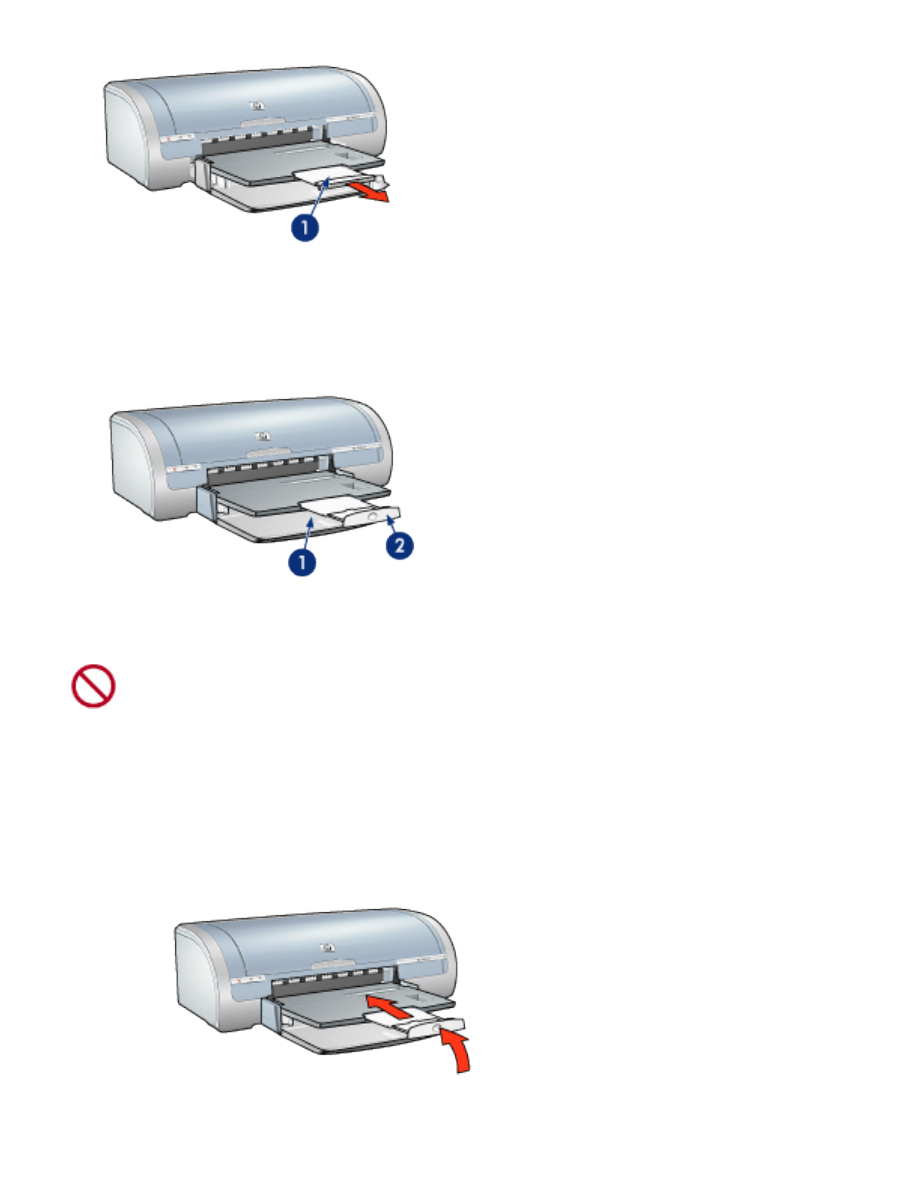
1. out tray extension
When printing in FastDraft mode, pull out the Out tray extension, expand the Out
tray extension, then unfold the Out tray extension stop.
1. out tray extension 2. out tray extension stop
Do not unfold the Out tray extension stop when printing on legal
paper. Only unfold the Out tray extension stop when printing in
FastDraft mode on other types of media.
Folding the paper tray
Follow these steps to fold the paper tray:
1. Fold the Out tray extension stop, collapse the Out tray extension, then push
the Out tray extension into its storage slot.
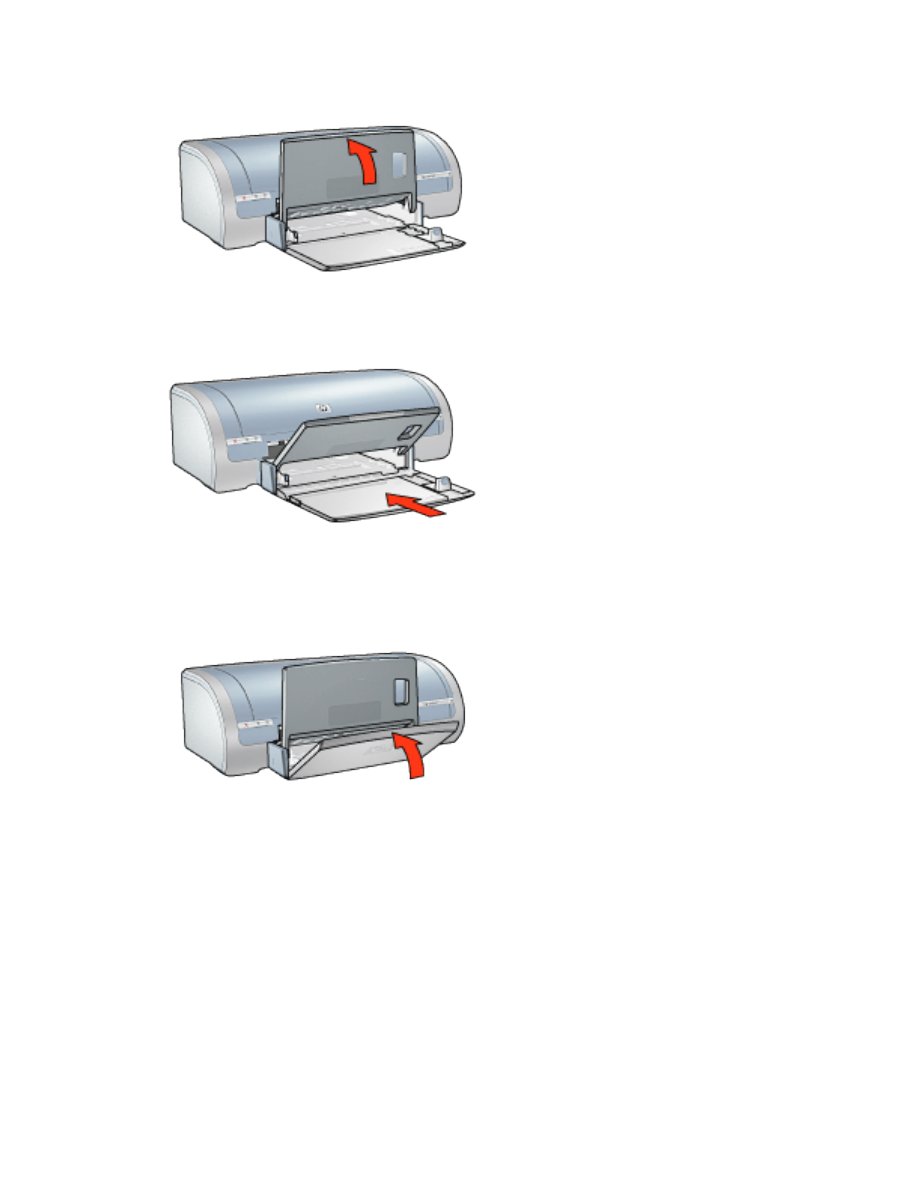
2. Raise the Out tray.
3. If necessary, push in the In tray extension.
4. Push the paper length guide into the interior of the printer until it stops.
5. Raise the In tray.